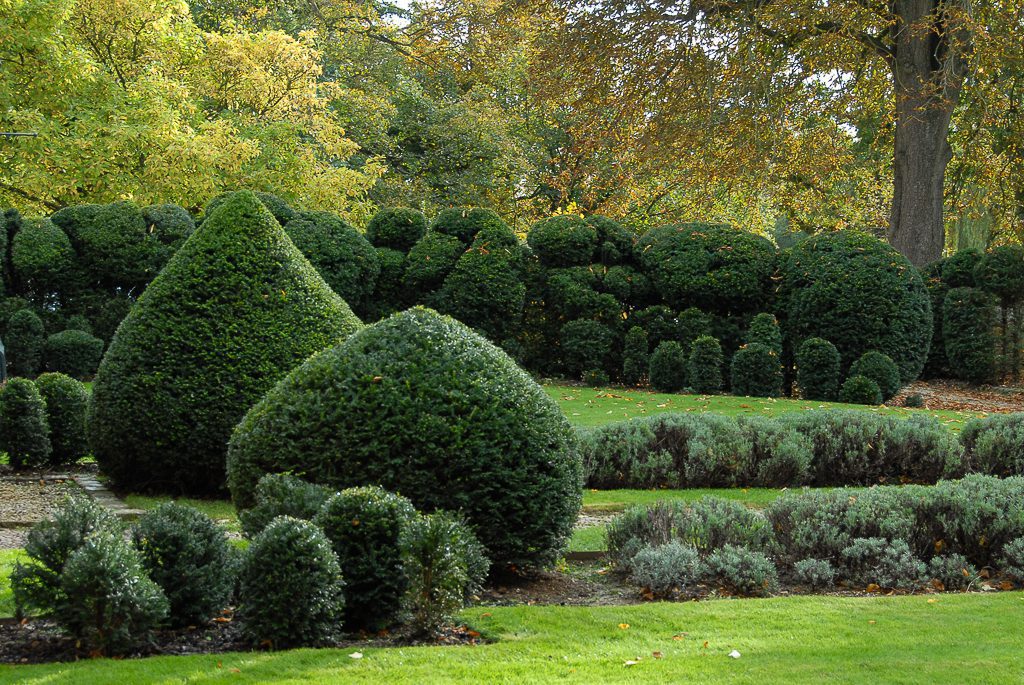
‘Where ever did you start it?’ is a question I am often asked. Surprisingly, not with a pair of shears…
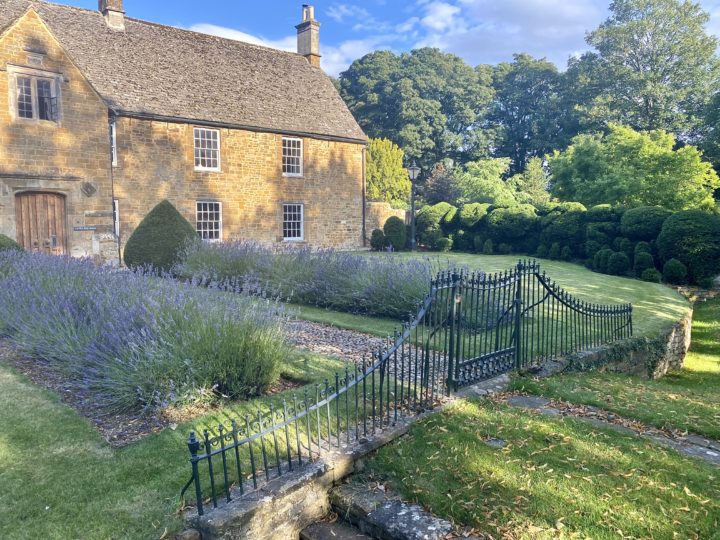
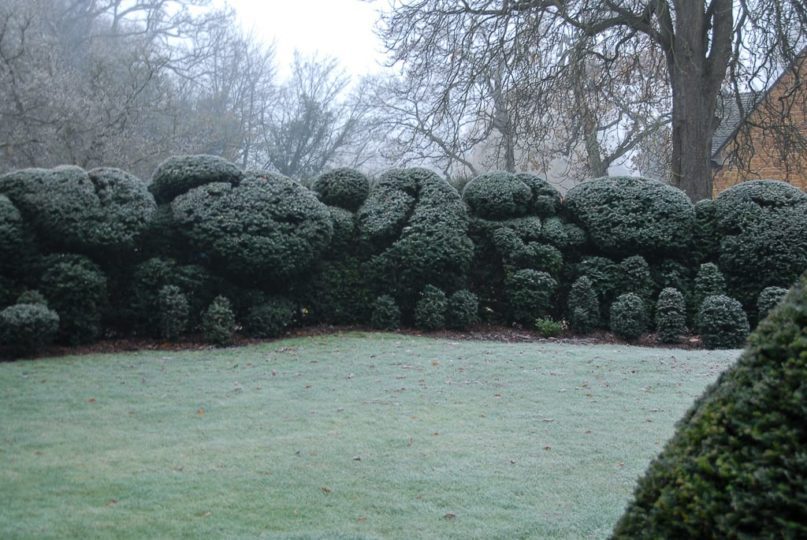
Evergreens hedges are an asset to any garden. They provide a wonderful green framework throughout the seasons and cozy shelter for the garden’s fluttering fraternity. Our yew hedge was a simple, straight back & sides, drab green strip. Dull as it may have been though, I couldn’t have been more excited to have inherited it. This yew boscage simply needed a new hairdresser and coiffure…
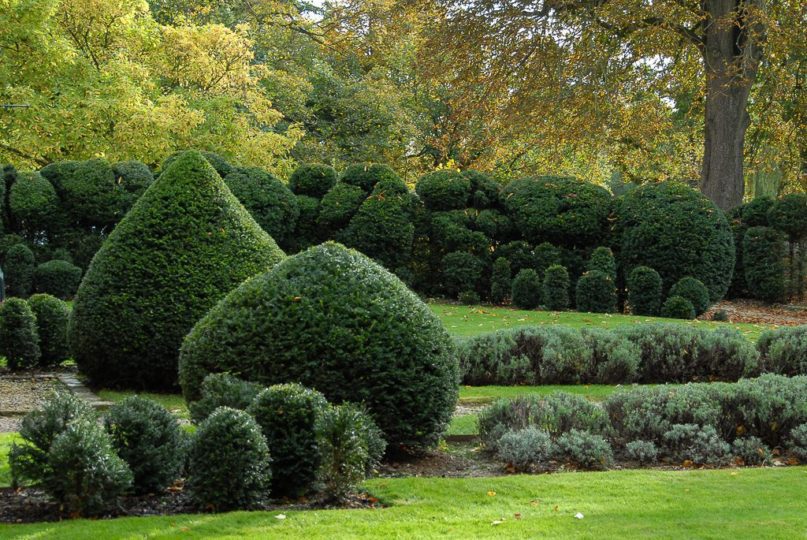
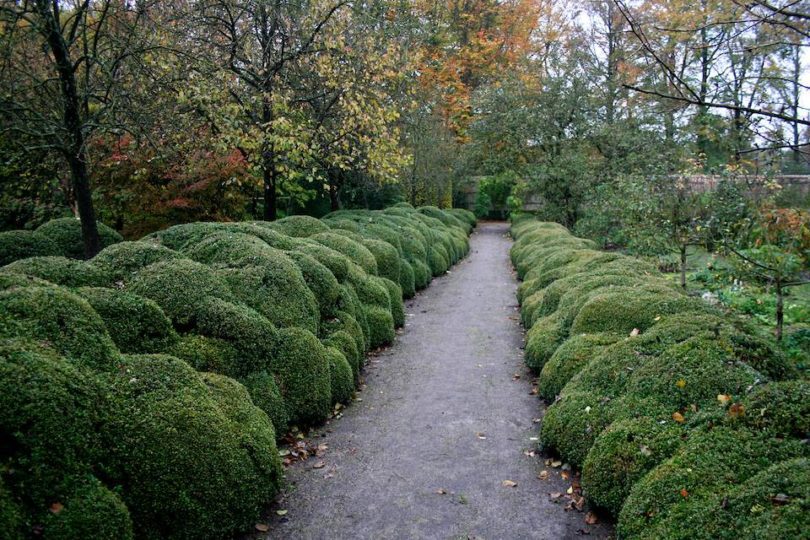
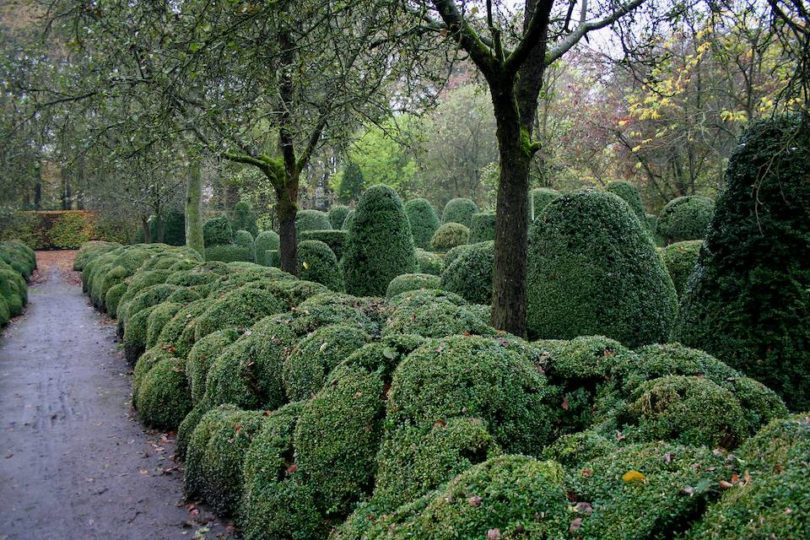
Though always in full admiration of cloud pruning, it wasn’t until my visit to the Jacques Wirtz garden that my shears really started itching. Wirtz’s garden is superb, famed for superior design but so too, the incredible box hedges. I have written about it endlessly, but basically the good man inherited substantial meterage of neglected, sickly box hedges. Instead of ripping them out, he started pruning to revive them. He clipped them hard back to healthy wood, igniting their naturally bushy character. The result, is one of the iconic horticultural features of the 21st century; a simply delightful mass of mounds, nothing short of miraculous, resembling billowing waves of green running the whole length the garden.
Granted, Witrz’s are a tad larger than ours, and buxus as opposed to yew, but there was no doubt, I had to ‘ave me some of that…
Kick off
The start was simple – just let it go. We purposely neglected the hedge for at least a year. The neighbours must have been horrified, thinking us to be the laziest of gardeners ever to have moved in – but we held our nerve.
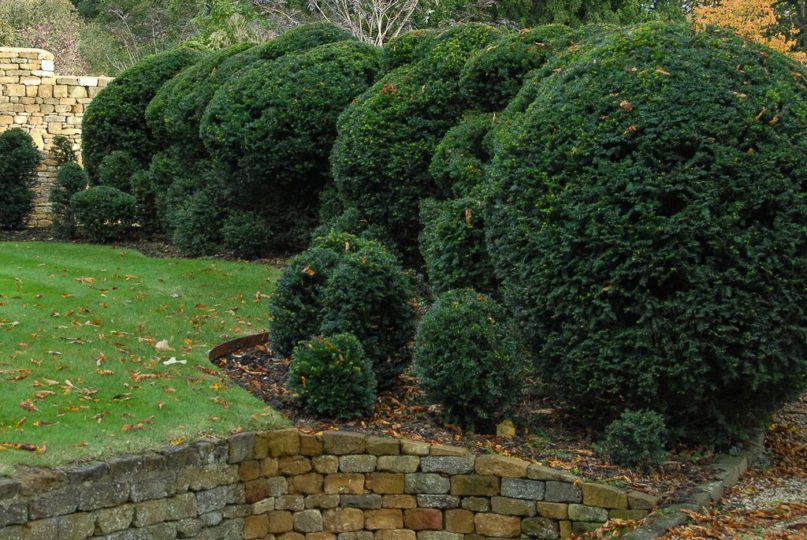
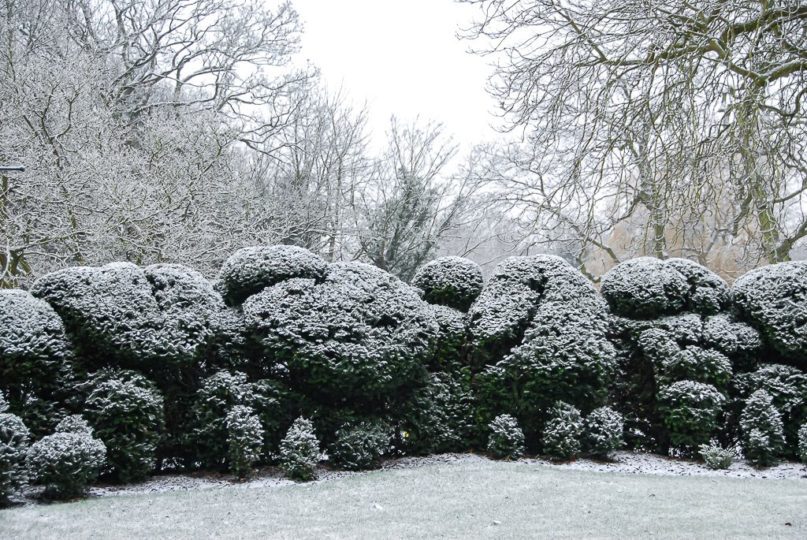
Leaving the hedge to do it’s thing, it’ll ‘show you’ where it really wants to grow and where it doesn’t. That’s your cue. Sounds barking mad and a tad Prince-Charles-I-talk-to-the-trees, but there’s method in the madness. The bold growth is where you can create fancy shapes, and where slower, you clip less ambitiously. Very much a la mode of the genius Wirtz and pretty much the motto of the organic (cloud) pruning fraternity. Hence, cutting shapes that suit the plant and it’s setting. Slowly but steadily, the clipped foliage will take on cloud like undulations, hence cloud or organic pruning.
If you don’t fancy enduring the neglect, a.k.a., the bouffant period, you can of course, go straight in and cut shapes directly into your (current) hedge. In my view, a more difficult approach and probably an approach limited to the true sculptors. I suspect this route may take longer to develop as you’re not working with your hedge, so to speak. Taking advantage of it’s own quirky vigour, is in my view the better route.
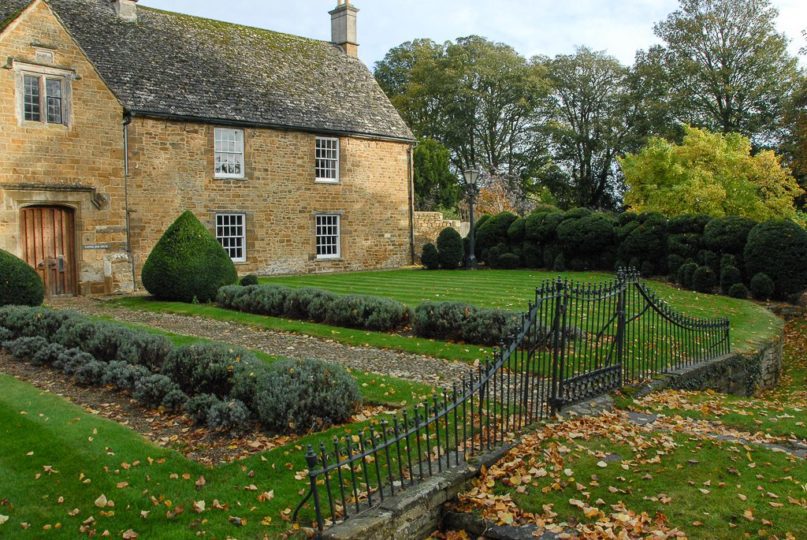
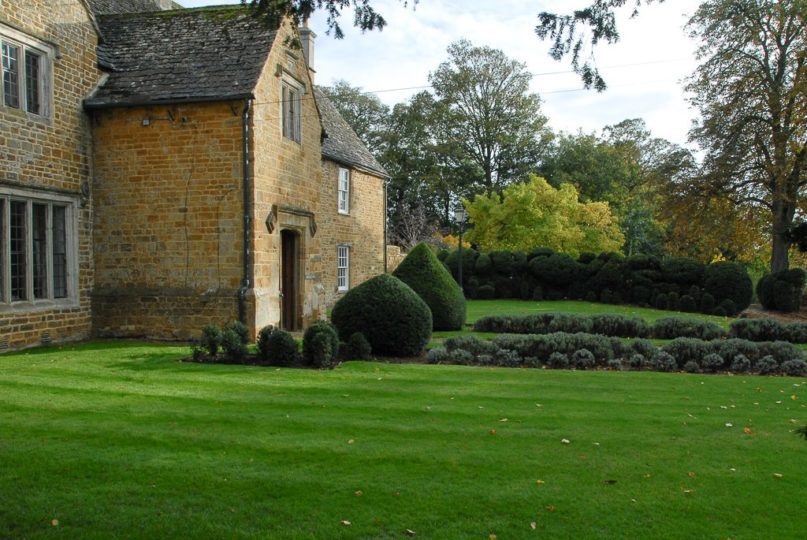
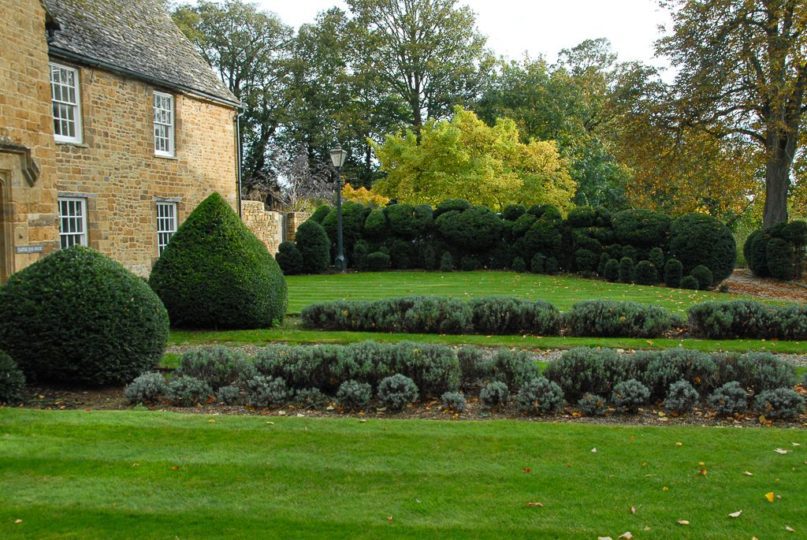
Braveheart
Be brave when pruning. That’s key. Confidence is everything. Don’t worry about mistakes. If you’ve done a bum clip, don’t panic – it will regrow and correct. Alternatively, just go with the bum clip and see where it takes you. Along with confidence, you’ll need to be patient as this isn’t instant gardening. It takes time for your hedge to grow into the desired shapes, fill out and mature. Having said that, the journey is fun and you will see your hedge developing with each snip.
Some idea as to the style of bobble you’re after is useful as it provides a mental pruning guide. There is much inspiration out which will help set your desired direction. Rousham for example has a fabulous hedge with longer, flatter undulations, and less bobbly than Wirtz. Wirtz’s hedges have a high concentration of tight, bumps and blobs, which I coveted and is hence our chosen direction. Go on a hedge safari and see the spectacular Audley End yew hedge in Cambridge, Arundel Castle’s box hedge (Wirtz design), the giant hedge at Powis Castle in Wales, Walmer Castle in Kent or the enchanting Elephant hedge at Rockingham Castle in Northamptonshire.
There is no doubt, the more bobbly, the more intensive the clipping regimes. For reference, our hedge needs cutting three times a year. I won’t lie, that’s quite a bit of shear sweat….
New recruits
You don’t need an established hedge to do this. Planting new recruits will lead to the same result, though will take longer as you don’t have the luxury of the vigour in more mature, established specimens.
We have planted new recruits where we wanted the hedge to be more prominent and they’re coming on swimmingly. Furthermore, we have also planted a new hedge adjacent to this one, along with smaller sets of ‘cloud blobs’ to keep them company. New recruits consisted of young, wispy bare root plants, the tallest of which were max 1m tall and smallest; homegrown cuttings. Where your bank manager will allow, a mix of large established shapes can be amalgamated into a new hedge for a quick result. Not surprisingly, this route is tremendously costly, and does in my humble view, takes from the experience of shaping it yourself.
There is of course a final alternative option; outsource. There are some seriously talented topiary pruners out there, whom can be found displaying their incredible talents on Instagram. Jake Hobson, James Todman and Andy (the Hedgebarber) to name a few, may be persuaded to provide their services. Bear in mind the regime required and that you’re in for the long haul.
Look after your hedge & inhabitants
Hedges are too often neglected. Just like their mollycoddled herbaceous compadres, hedges too, like compost, feed and mulching. Especially so, when you’re asking for high performance. I feed ours every autumn with bone meal, mulch them with fresh garden compost and a generous layer of bark. The latter also saves you endless hours of weeding, which is such a bonus. In spring, after the first cut, we top up the bark and a provide a few watering cans of comfrey/nettle feed. The result is super growth and sparkly green foliage.
The compost and bark will enhance the living accommodation for your hedge dwellers. Delightfully, we see an increasing number of birds nest in the hedge, which means that we don’t do the first cut until well after nesting season is over. I probably do the first cut end of June, early July.
The accoutrements
The right kit is crucial and you need a few good basics.
To date, I only prune with shears, having yet to explore electronic assistance. The selection of shears is very much to personal preference; length of blade & handle, thickness & material of handle, overall weight – all factors to consider. The level of ‘blob concentration’ is also important, where ours is high and of varying sized blobs, requiring a selection of shears for larger, smaller and tighter surfaces. Being tall, I also don’t need very long handles for reach, though admittedly I do like working with them.
If you’re renovating an old hedge, you’ll need decent loppers and nifty saws all depending on the state and size of hedge. I have listed a few favourites for reference1.
- Darlac DP 401 Lightweight shears. Having always been a Niwaki girl, these shears took me by surprise and have admittedly become my stalwarts. Lightweight, but strong and deliciously easy to work with. They grip wonderfully and provide good reach and pruning accuracy. For the price, they’re a steal.
- Niwaki Okatsune Shears. Wonderful pair of shears. I grab these for difficult pruning, and generally where I’m starting to shape, or for the first in cut early summer. After which I tend to use the Darlac’s.
- Niwaki Pro topiary clippers. Game changers. When your pruning matures and shapes start to fill, you need something for the tighter clip and this is it. Fabulous fit in your hand and cuts through yew like butter. If you’ve sharpened them that is…
- Niwaki secateurs – love them all. I have (and lost); Tobisho SR-1, Niwaki Pro, Niwaki GR Pro. Vital to cut through smaller, thicker branches. Do let your secateurs do this job, save your shears, your wrists and arms!
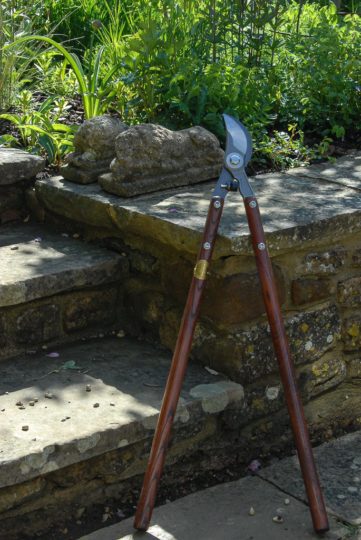
- Burgon & Ball National Trust Loppers. Super pair of loppers, which I use where we’re renovating, or reshaping the hedge to cut through the older, thicker branches. Can’t resist a good looking tool and these don’t disappoint.
- Saws, when needed love the Niwaki folding saw, but so too those made by Bahco.
- Ladder. Vital piece of kit and being a vertex chicken, I want something sturdy and safe. My 7ft Niwaki tripod ladder is fabulous. Easily positioned, not heavy to carry and ever so stable that even yours truly dares to lean out like a proper acrobat. On this ladder, I’m up high and as confident as a gun spinning John Wayne – which when I’m wearing my belt & leather secateur holster I certainly emulate…

Frequent questions
- How long does it take? Depends on so many factors, not in the least the health and age of your hedge and setting. Growth is faster in a sunny/semi-shade location and maturer hedges recover quicker. Feeding will help, but as a reference it has taken four years for our hedge to get to this stage and it’s far from mature.
- Is it a lot of work? Yes. I can’t lie. Our hedge is viewable from both sides, so that’s double the work for the yearly regime, plus the various other hedges and yew bits on the front lawn. Pruning sensibly, hence not in a mad rush, I’d say each side of the hedge takes about 4-5 days. Three cuts a year. Granted, we are still shaping the hedge, which is more work than strictly maintenance, but it gives you an idea. If I find electronic assistance, which I am looking into for some ‘light relief’, I shall update you.
- Do you tie in branches to plug holes? No, definitely not. Have seen some horrors where old ties, strangle branches and cause severe damage. Holes are good, which sounds odd but they’re a sign that you need to work those areas harder. Where you have holes, prune within and around the hole. That may mean, making it temporarily larger but it will regrow and close over. Birds will make holes too, bear that in mind but that kind of traffic is just a good sign in my book.
- Have you messed up? Definitely. I have changed my mind over areas, and re-clipped to change the shape. In places I have simplified the blobs, yet in others emphasised them. This is a living project and it will continue to change for sure, but it’s always down to what the hedge tells you. If you see areas where desired growth is struggling, start again and change tact. One more or less blob, won’t make much of a difference. In the past, I have also made the error to leave growth where I wanted height or width. That only results in thin, spindly growth. You want the blobs to grow out as one, like air inflating a balloon. Where you want growth, you need to prune.
- How often do you have to clip? We cut three times a year. Late spring/early summer for first post winter cut. This is by far the most intensive cut as it will have put substantial growth. After that cut, it will start fuzzing over, which is lovely but you lose the shape if left too long. We therefore prune again around end of August/September and then a final trim late October to smarten up for winter season.
Footnote
- Not an advert, nor am I linked to any affiliate schemes. I just love these and are proud pieces in my pruning kit. Most I have purchased myself, apart from the loppers which were a press sample for trial.
