Sincerest apologies for this rather Blue Peter, WI-ish subject matter.
Normally, it would never have crossed my mind to devote an entire post to the making Christmas wreaths, but the recent subject coverage on Gardeners’ World and in most gardening glossies, leaves little choice. Not a question of jumping on the band wagon, but rather more an alternative to the always suggested quantity of gadgets (e.g. wire/natural/oasis rings) and material (moss) that is seemingly required to make wreaths. Far from being an additional expense, these gadgets are unnecessary and the result is often rather unnatural looking.
Therefore, in the spirit of current economic austerity, especially after the conjectured loss of trade revenue with Europe, as Sarkozy and Merkel are in a huff; here is a cheap but effective way to make lovely seasonal wreaths, with nothing but old newspapers, wire and one’s own garden green foliage.
In terms of foliage, or ‘herbage’ as Carol Klein so aptly calls it, you can use anything you have growing in the garden. Personally speaking, for best results use a combination of conifer type leaves and sturdy leafy greens such as bay, ivy and holly as these will last easily into January without wilting. In the spirit of Christmas, and following the advice of the Queen of Christmas Kitsch; Nigella, some degree of sparkly tat should probably be added. There is after all, nothing as camp as Christmas…
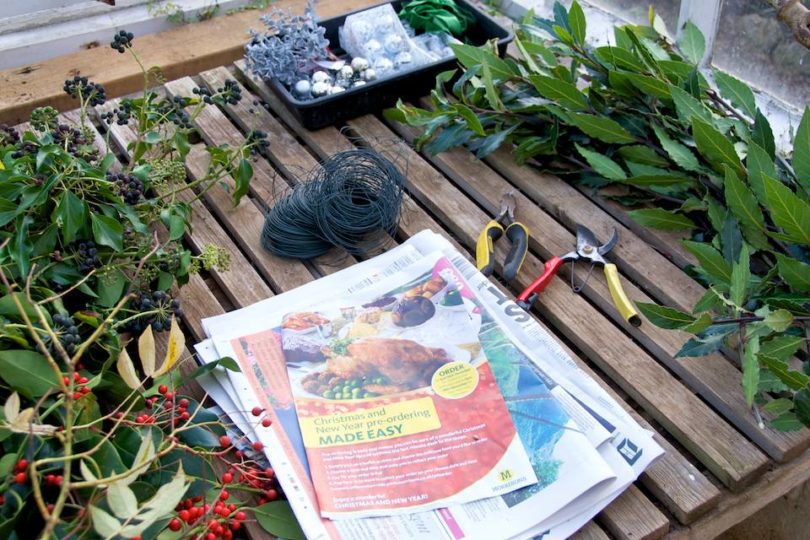

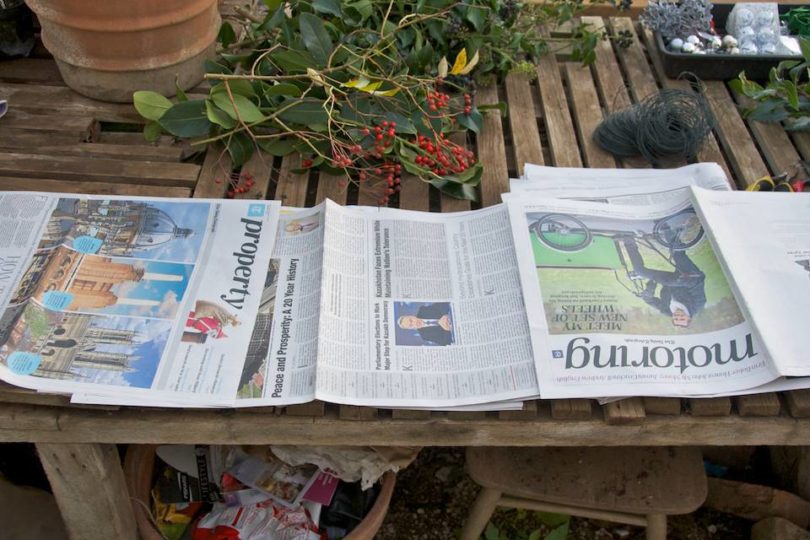
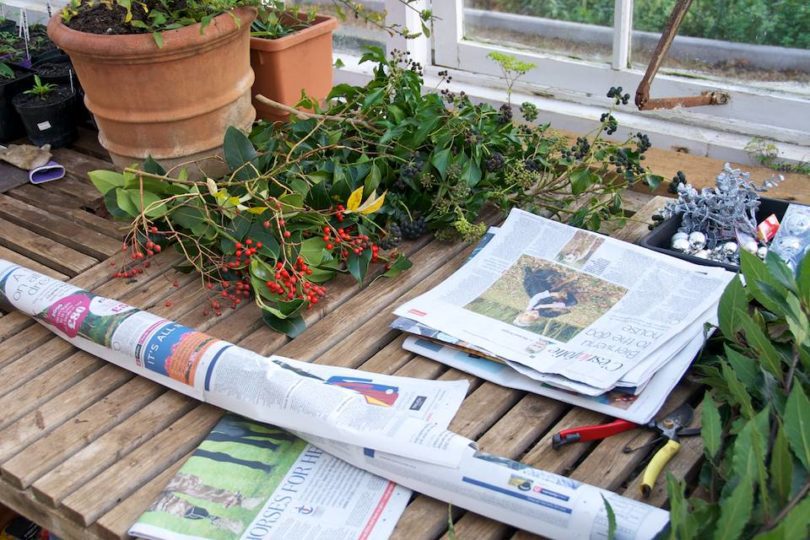


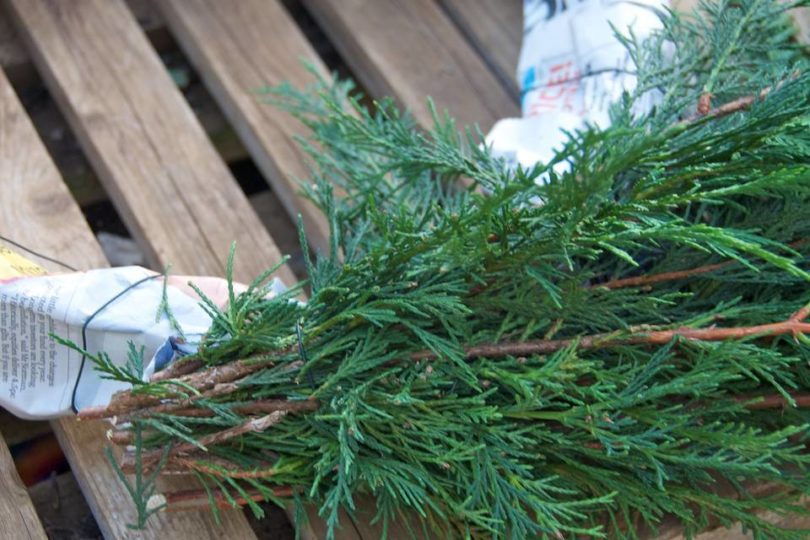
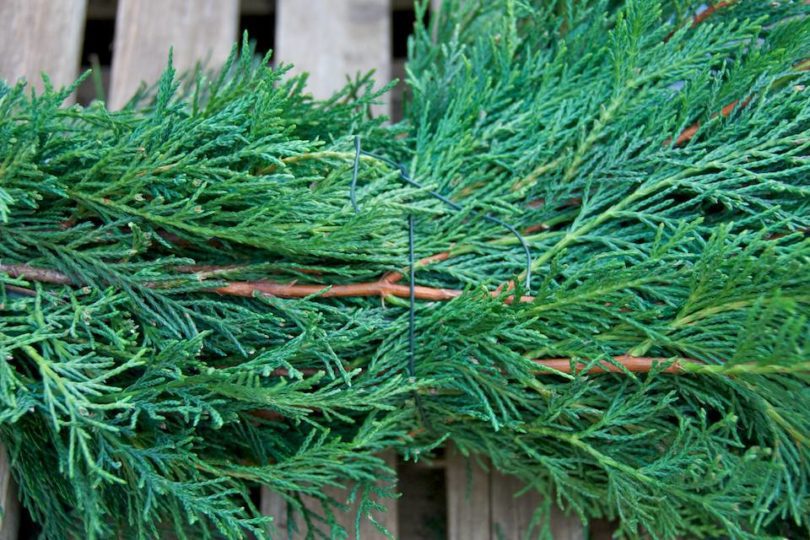
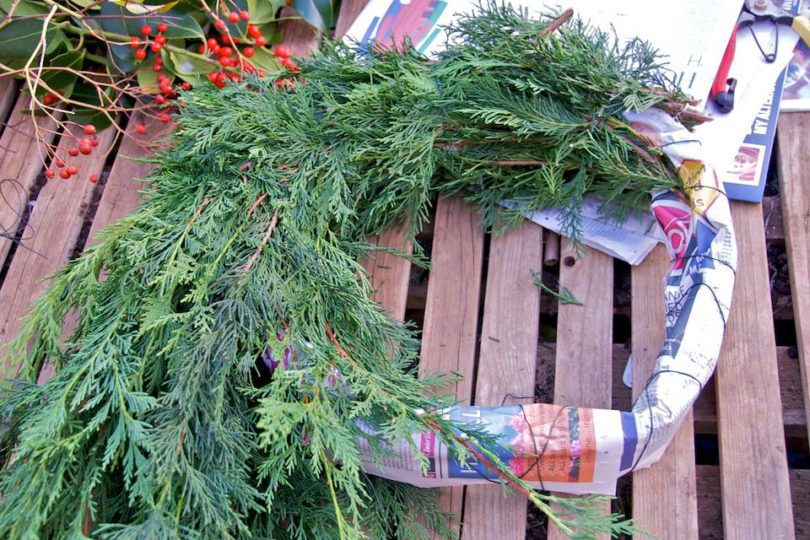
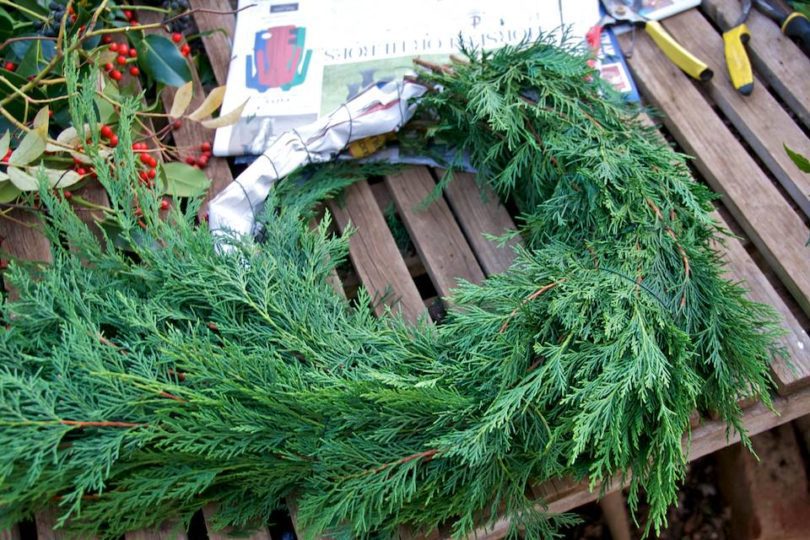
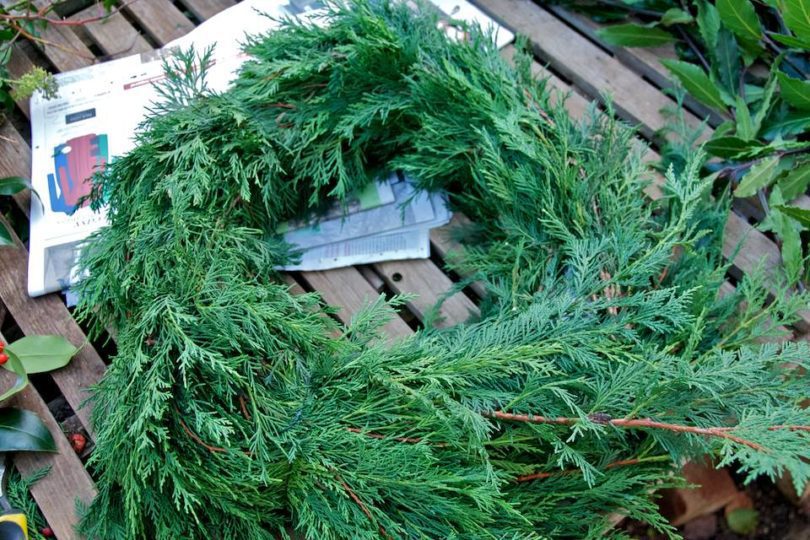
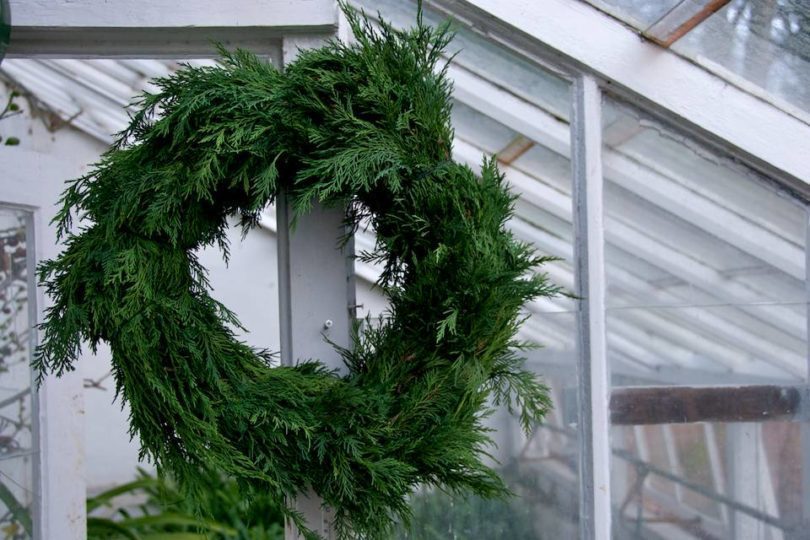
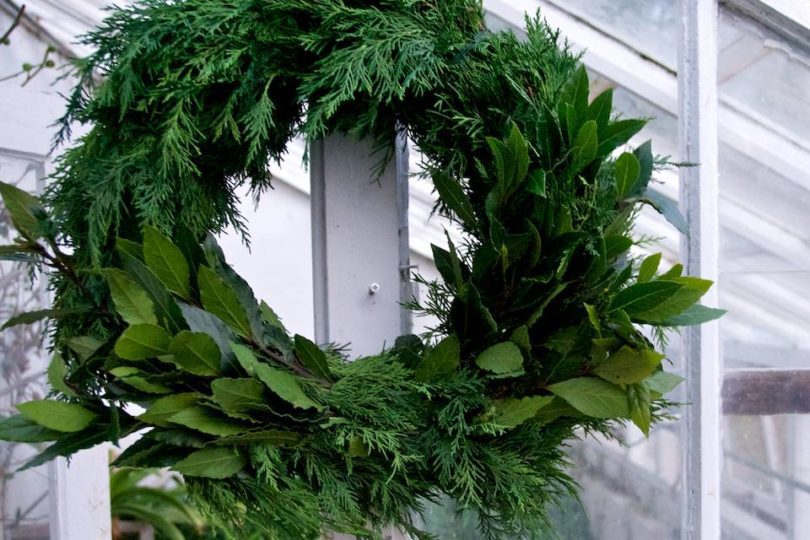
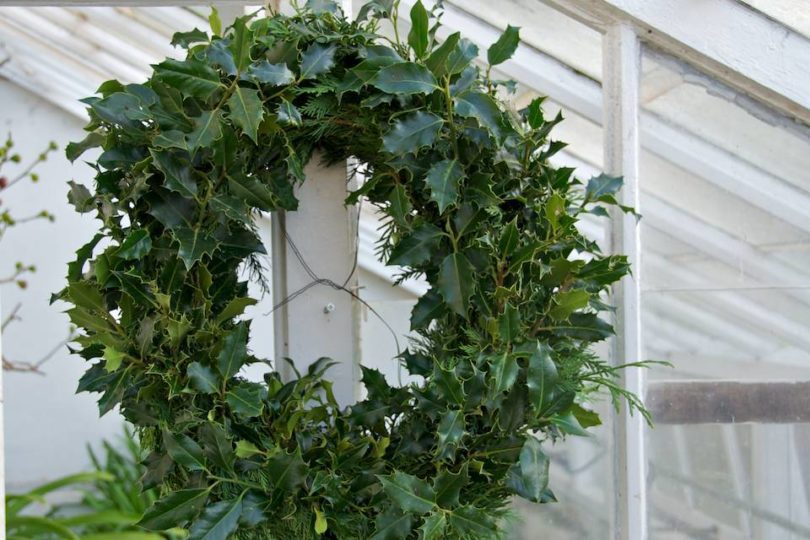
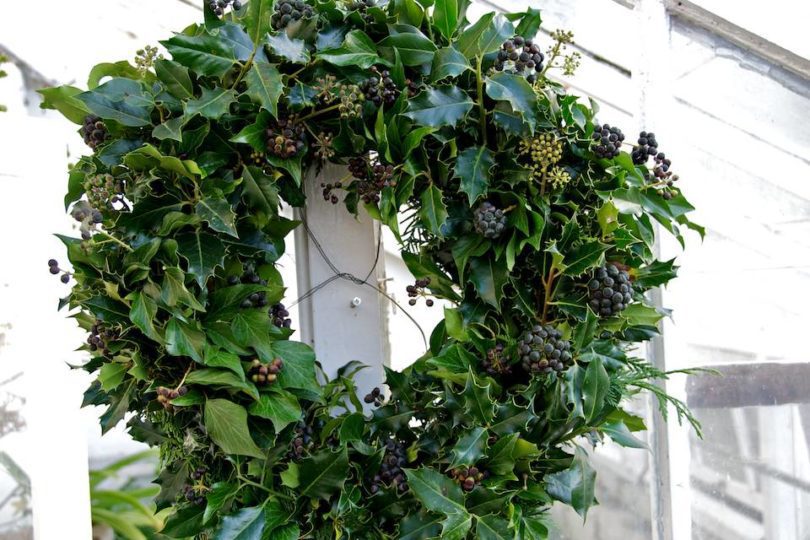


Making this wreath is really easy. And note, this comes from someone who is absolutely hopeless at art, and whose proud creations during junior arts & crafts classes, resulted solely in a series of rather unfortunate, deformed ashtrays, destined for parents who don’t smoke. Trust me, its easy and rather satisfying.
To make the wreath
- Spread out the pages of old newspapers on a flat surface. Depending on the size of wreath one is after, generally speaking 1.5m or so wide. Layer the papers to ensure even coverage.
- Roll the newspaper steadily into a roll and squeeze to ensure it maintains its shape. Link both ends either by overlapping or working one end into the other and fix in place with some wire. Voila, your DIY wreath ring. Shape it to ensure the desired circle or oval shape. Don’t be alarmed if it does not stay in place and is looking rather pathetic at this stage.
- Take a long piece of wire, fix at one end and wind around the paper wreath to strengthen.
- Hold the paper wreath steadily in your hand, and choose your starting point. Start inserting the leafy twigs around the wreath, into the wire bind. Long twiggy cuttings are good as they provide the solid structure and help fast track the coverage. Make sure you keep turning the wreath to ensure you have completely covered the area with green material and tie in with wire.
- From that point, continue to add more material, turning the wreath as you go to ensure good coverage, wire in and so on and so on until you are left with a chunky green wreath.
- At this stage, look at the type of hook you have on the door, or where the wreath is to hang. Very much in the order of planting perennials, look at your wreath and decide which way round (front/back) it looks best, and decide where your top point is. Once decided, make the required hook from the same wire to ensure that it will hang properly on your door.
- Start adorning with leafy greens; bay, holly, ivy etc.. Ensure you start working either from the top or the bottom, and ensure consistency and maintaining the wreath shape.
- Further adornment from here is really personal choice, be it with more green material or sparkly Christmas decorations. The resulting wreath is heading to the front door of my in-laws’ rather smart London address, so have opted for the natural look. Normally though, some Christmas kitsch is added…
